Over Christmas, with a house full of willing and helpful guests, I was forced to see my tea-towels in a new light..... I decided that I would treat the kitchen to some new ones as soon as I re-entered my sewing room (then in use as it's alter-ego, the second spare room).
After Christmas my sewing room cutting table was being given a face-lift by my other half (I can't refer to him as Mr. Blob because, for reasons more to do with genes than food consumption, it really doesn't suit him).
You might think I should have varnished it myself but I was quite happy with it as it was. My husband obviously has higher standards and, to be honest, although I already loved my table, I must admit to loving it a degree or two more now.
Meanwhile, back at the sewing, I bought some suitable fabric of an unsuitable length, due to my opinion that a metre should be plenty. A common mistake in my experience. (Work out how much you need before you buy. A simple but effective rule that I really should follow in future)
So, as a result, I have only just started on my tea-towels and can only make 4. I had hoped for 6.
And so to work....
 |
| The Fabric (also featuring the aforementioned cutting table) |
 |
| Trimmed. |
I suppose tea-towels can be any shape you like, but I am sticking with convention and going for the rectangular. I have trimmed the piece of fabric accordingly. (I now have less than a metre. Hey ho.)
 |
| Shoe lace |
A hanging loop on my tea-towel is essential to me. It just so happens that I have a white shoe lace which should do the job nicely. You might be wondering what sort of person keeps discarded shoe laces. Well, me! (I'll photograph my stash of useful things to show you one day, but I might tidy it a bit first.)
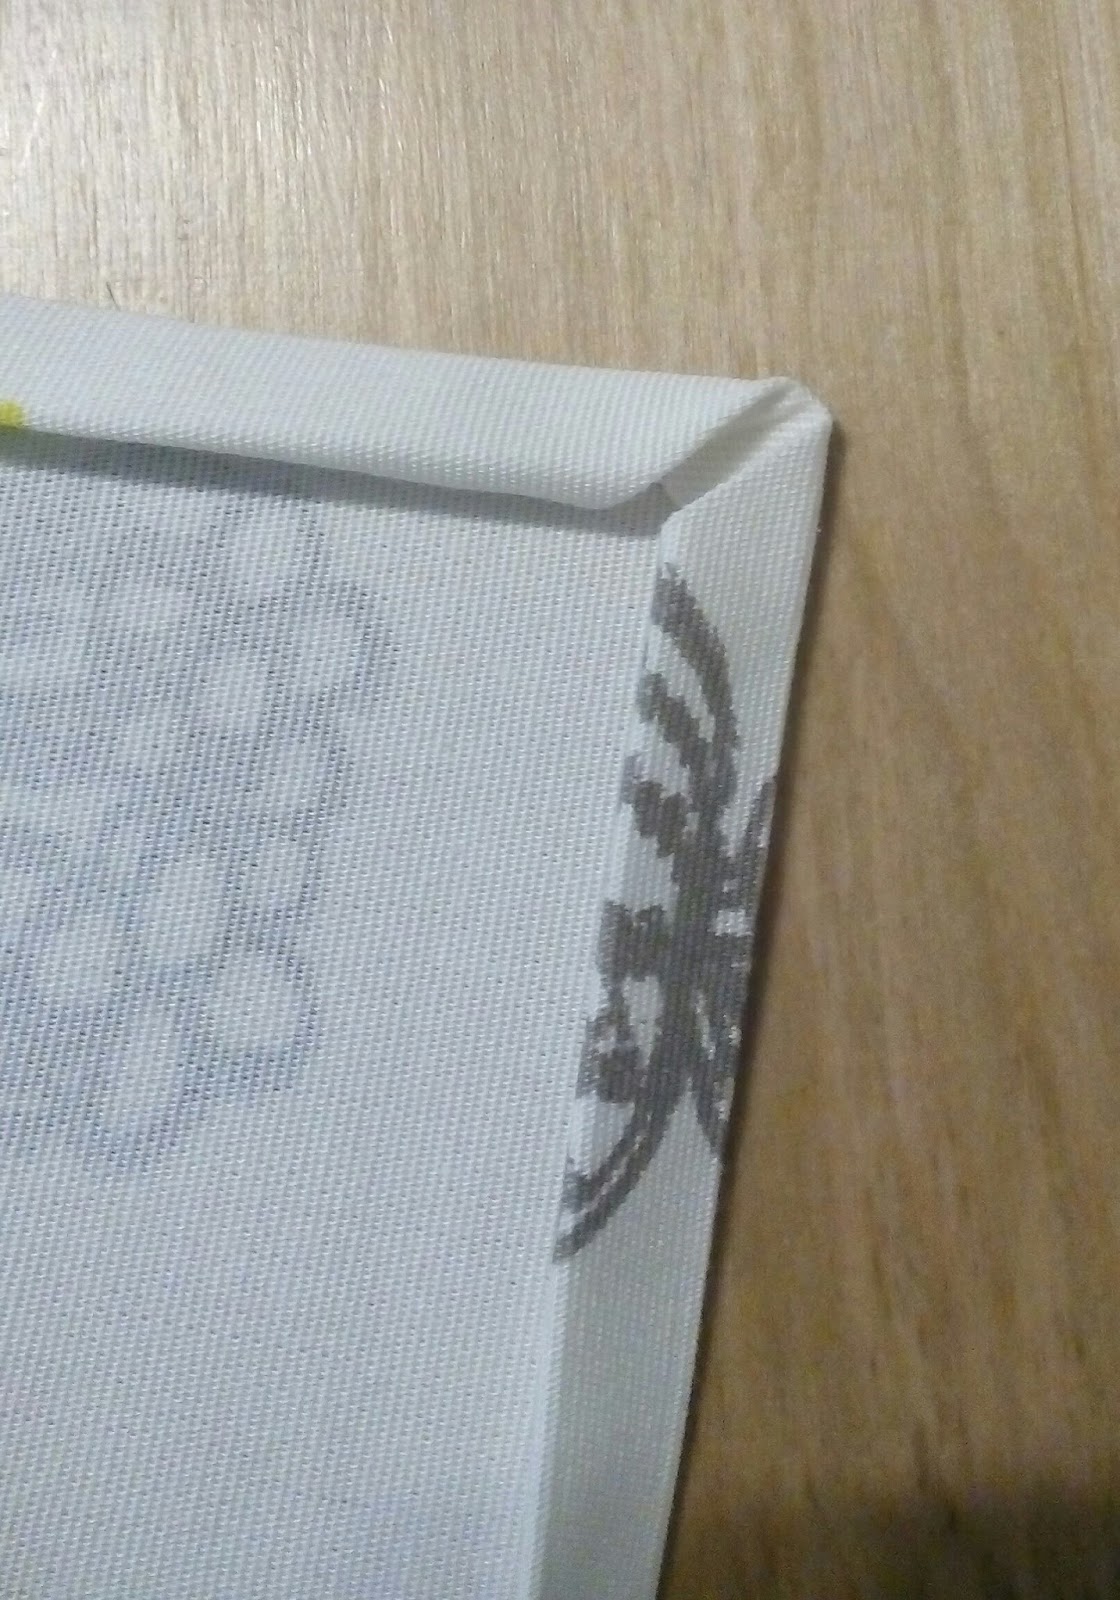
Now to pressing under the hems with particular attention to the corners. Pressing stuff prior to sewing is a lesson I have learnt.
 |
| Press under 1 inch all around |
 |
| Trim off each corner |
 |
| press under 1/2 inch across each corner |
 |
| re-press edges, folding under 1/2 |
This makes sturdy, neat corners. Pin each one so that it stays in place whilst sewing later.
Now for the loop.
 |
| Position loop and trim |
 |
| pin in place under hem |
Okie dokie. Now I can stitch. Just a straight stitch in matching thread, nothing fancy, it's just a tea-towel.
 |
| fold up loop and stitch |
 |
| finished tea-towels |
So, nothing fancy but I have tea-towels. The photo shows a pile of only three because one is hanging in the kitchen! Result!
Now, on to more serious sewing...